Changing from Table to Inline Formatting |
  
|
Changing from Table to Inline Formatting |
|
In the Profile View, select the element to change, right click and then choose “Document inline”.
Then format the content as usual with the In-line formatting screens.
Example:
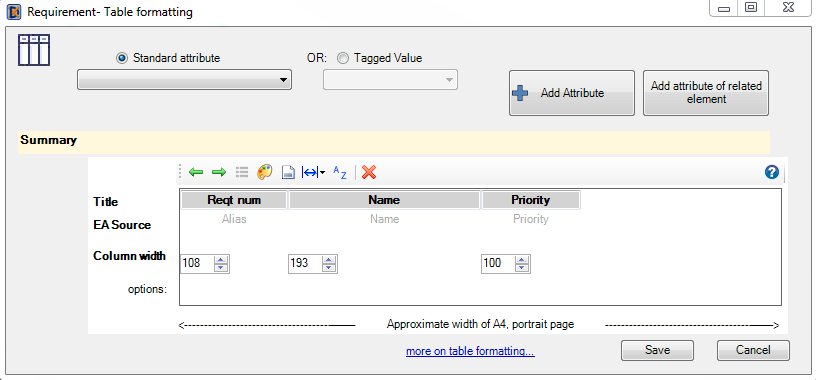
Initially the Issue Element is formatted as a table. Table formatting screen:
Produces table:
|
Then Select “Document In-line…”
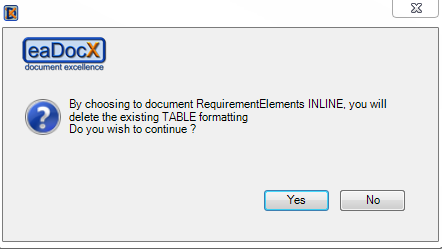
After selecting Yes, eaDocX presents the following In-line formatting dialogue:
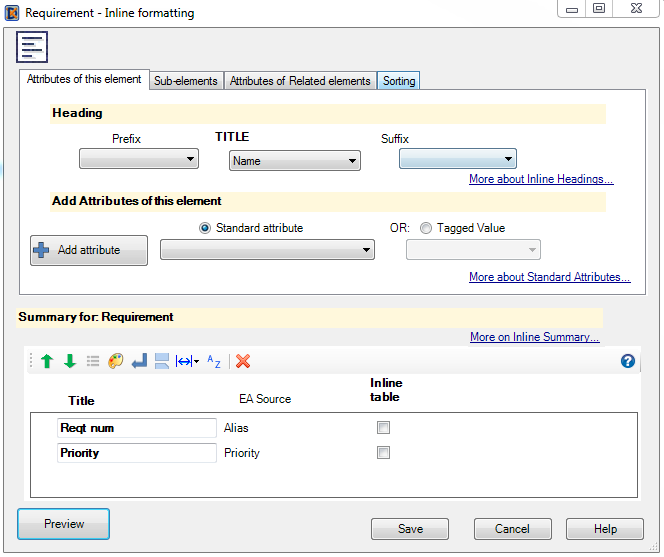
i.e. all the fields included in the table are included as in-line sub paragraphs, with their titles or labels carried across from the previous table definition. With no further changes this prints as:
1.0 Configure Widgets Reqt num: RQ0012 Priority: High
|
The in-line formatting dialogue also allows the addition of a Heading at the start of the In-line paragraphs; this is not available when elements are included in Table format so is not auto-populated.
If Element formatting is changed from In-Line to Table (or vice-versa) then it can be changed back with no loss of data although the printed output after each change should be checked carefully to ensure no unintended printed effects have been introduced.
Tip: It is best to changing between formatting styles before making substantial changes to the attributes to be printed, in order to reduce the likelihood of your elements printing in unexpected ways. |
|---|