Related Elements |
  
|
Related Elements |
|
The real power of EA is in relating elements together, so it's quite common to print information about relations of an element along with the element itself.
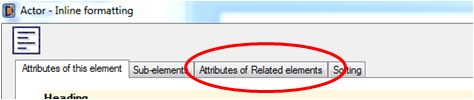
Select the 'Attributes of Related Elements page':
The options of the page are:
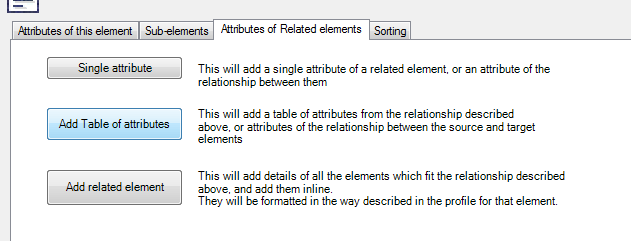
• Single attribute. You’ll need to specify how the two elements are related, and which single attribute of the related element you want to print. This is useful, for example, where you expect each Use Case element to be linked to an ‘Actor’ element via a 'UseCase' link. You could then print the Actor's "name" attribute after each use case. Where there are several Actors, you’ll get a list of the attribute names, separated by commas.
It may be the case that the related element has it’s details printed elsewhere in your document. In this case, you can specify that the attribute you print should also have a hyperlink to that data, which eaDocX will insert. See Relationship Attributes for more details.
• Add a Table of attributes. Again you’ll need to specify how the two elements are related, but you can now specify a list of attributes of the related element, which will print in a table which you can specify. Where there are several related elements, each will print as a row in the table. This works well where you won’t be printing details of the related element anywhere else in your document.
For example, if each Use Case has some Requirements that it satisfies, you could print a table of those requirements after each use case. See Relationship Tables for more details.
• Add related element. This isn’t really ALL the details. It just means that eaDocX will include the details of related elements, formatted in their default style (either Table or Inline). This is useful if the structure of packages in your EA model is quite different from the way in which you’d like your document to be structured. See Relationship Elements for more details.