Using Stereotypes |
  
|
Using Stereotypes |
|
A standard feature of the UML modeling language is that of stereotypes.
A stereotype can be given to almost any EA element: a Class, Use Case, Requirement, Component or device. In modeling terms, giving a stereotype to an element is just a further qualification of what that element is. For example, you may have Component elements in your model, and if some are existing ones, and some planned, you might choose to give some an <<existing>> and some a <<new>> stereotype.
In a model, this helps to tell the reader more about the element.
When used consistently, stereotypes can be used by eaDocX to determine how elements are formatted, to tailor the print options for Inline, table and report elements.
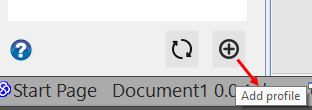
To specify the formatting of a stereotype you have defined, select the Add profile button at the bottom of the Profile view.
In this view you can then specify the element type and name of your stereotype and then go on to format it as in-line, in a table, or with a script as required.
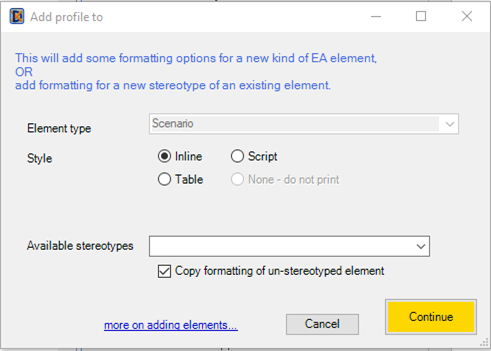
Stereotype Elements can be handled in one of 3 ways:
•Printed INLINEas a set of paragraphs
•Printed as rows in a Table
•Printed as defined in a Script
•not printed at all. This will filter-out all elements of the specified Element Type & stereotype from your documents, and can be very useful to remove unwanted detail. This is usually only used to filter out specific stereotypes: to avoid printing a whole element type, just delete any formatting defined for it in the Profile.
Tip: UML and EA also allow elements to be given multiple stereotypes. This is not supported by eaDocX; only one stereotype can be used to determine how an element is formatted.